How to take great pet photos
Use these simple techniques to get great pet photos and up your (or your pet’s) Instagram game
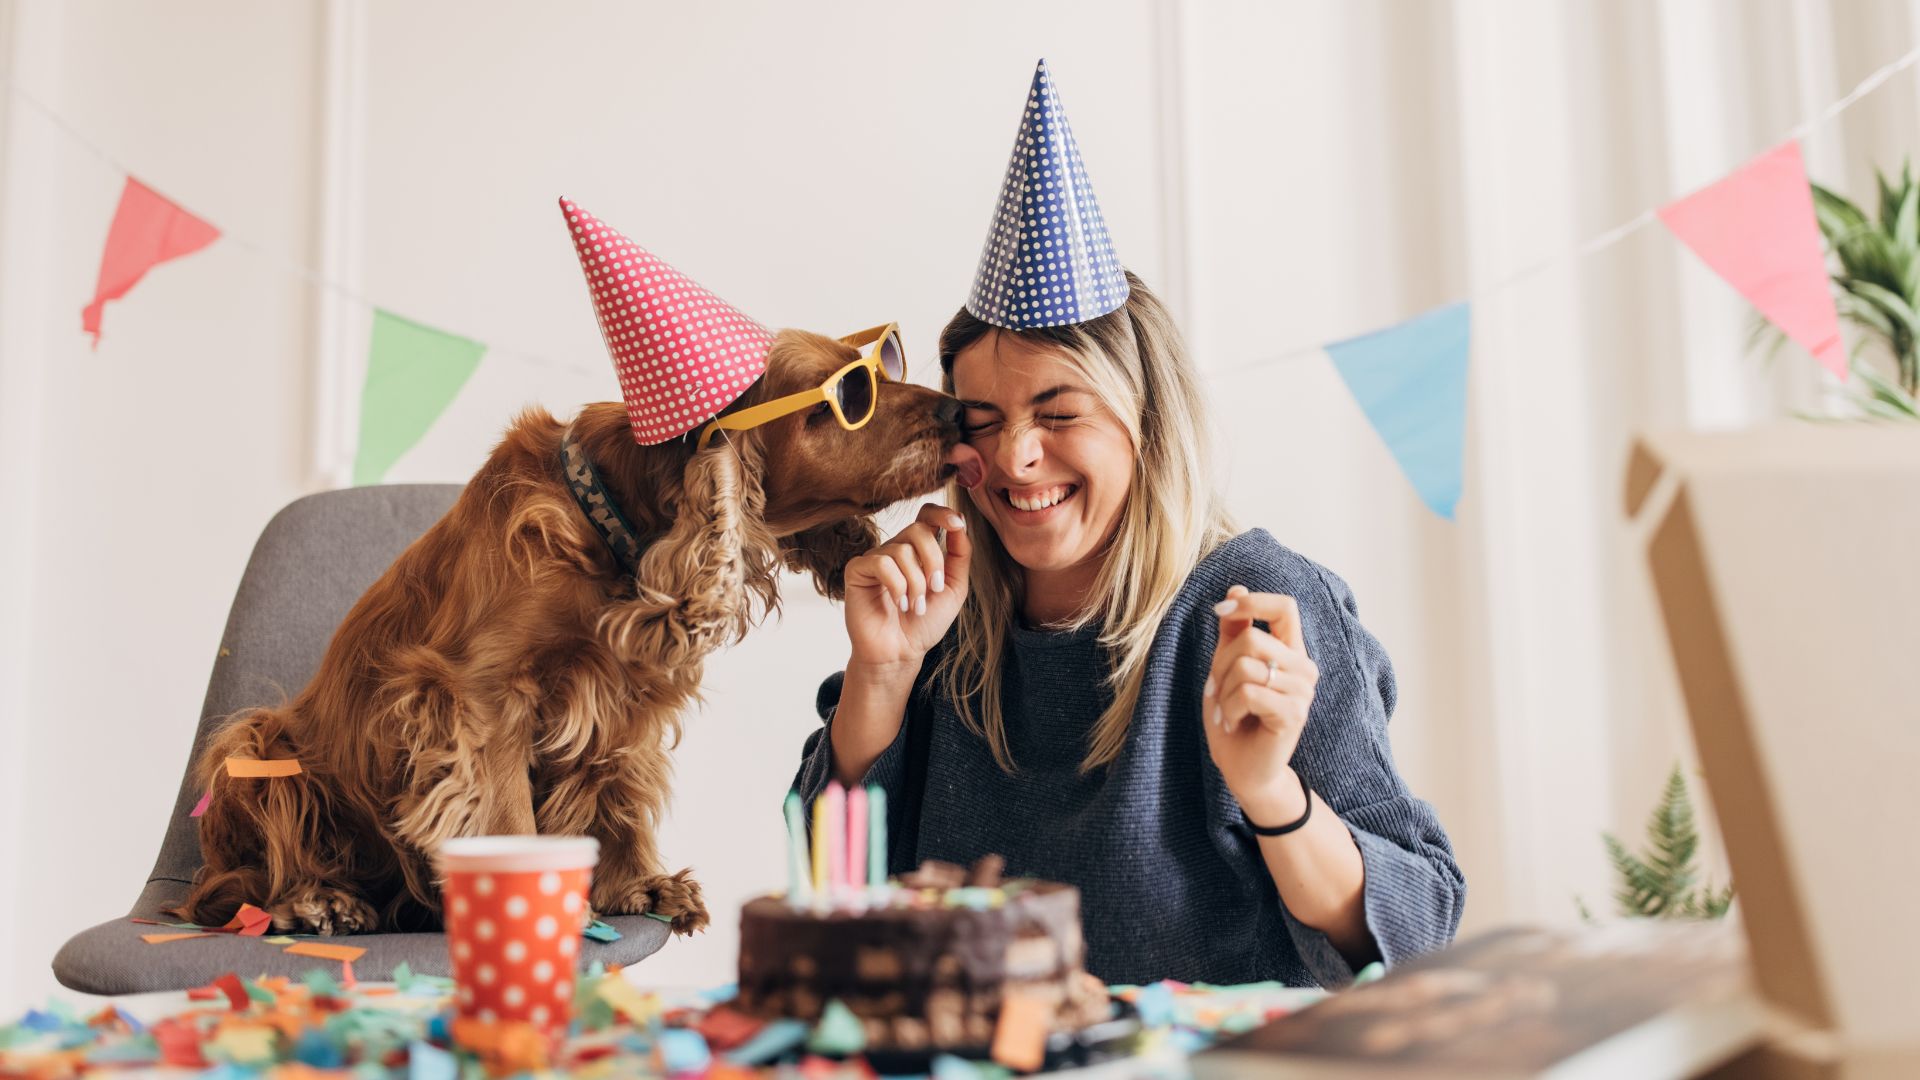
Pretty much the day you get your pet, pet photos will start to fill your camera roll. Some even go so far as to set up an Instagram account especially for their furry, feathered or scaly friend.
But getting great pet photos isn’t necessarily a given. If you can put some effort into learning some simple techniques – some of which professional photographers use – you can improve your pet photography quite easily.
If you’re really serious about capturing your pet’s best side, you may want to invest in a dedicated camera once you get the bug. That said, all of the tips in this piece can be used with whatever camera you use, from a smartphone up to a DSLR.
The best puppy treats: Reward your young dog in style
Best dental chews for dogs: Six options to keep your dog's teeth clean
Best dog grooming kit: Keep your dog looking clean and smart
Stock up on treats
The first tip isn’t strictly a photography tip as such, but it’s something that can instantly elevate your shots.
Stocking up on something which your pet loves – whether that’s the best dog treats, the best cat toys, or something that squeaks – will turn your next pet portrait session into a game. If you can work with your pet to train them to pose by repeating commands then all the better.
You could also consider asking a friend to help you distract the pet and create poses, while you concentrate on getting your shots.
Use natural light
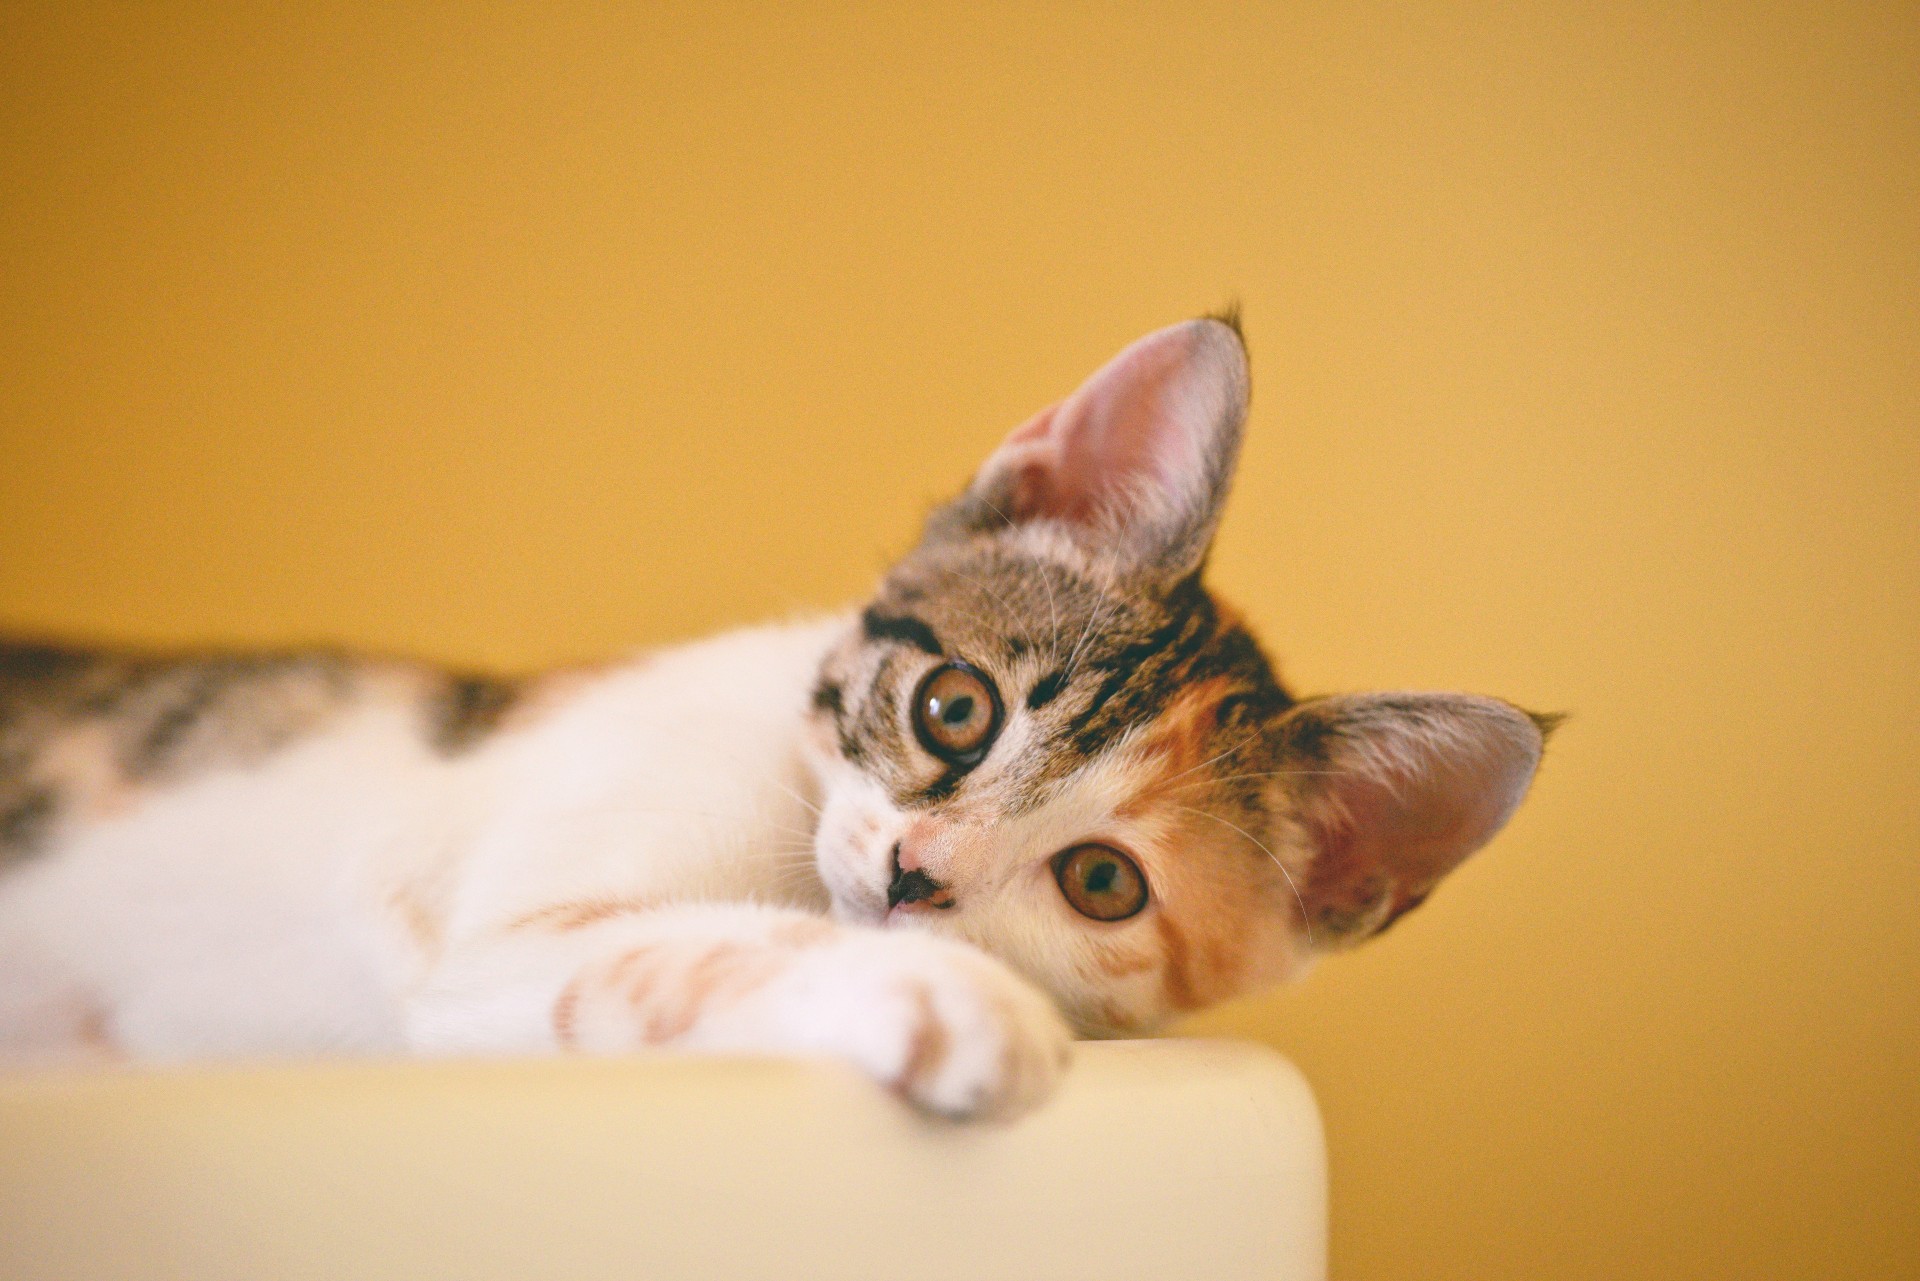
Where possible, photograph your pets in natural light for the best results. Natural light is generally much more flattering, and will bring out the best colors of your pet’s fur, feathers, scales, and so on.
If you can’t take your pet outside, try photographing them next to a window. If you have to photograph your pets after dark, keep a close eye on the tones and colors of your shot. Yellowish tones tend to be created by artificial lighting, something that can be avoided by adjusting white balance settings if your camera/phone allows it. Some phone cameras will do a good job of adjusting the light on their own, but not all will.
Position the sun
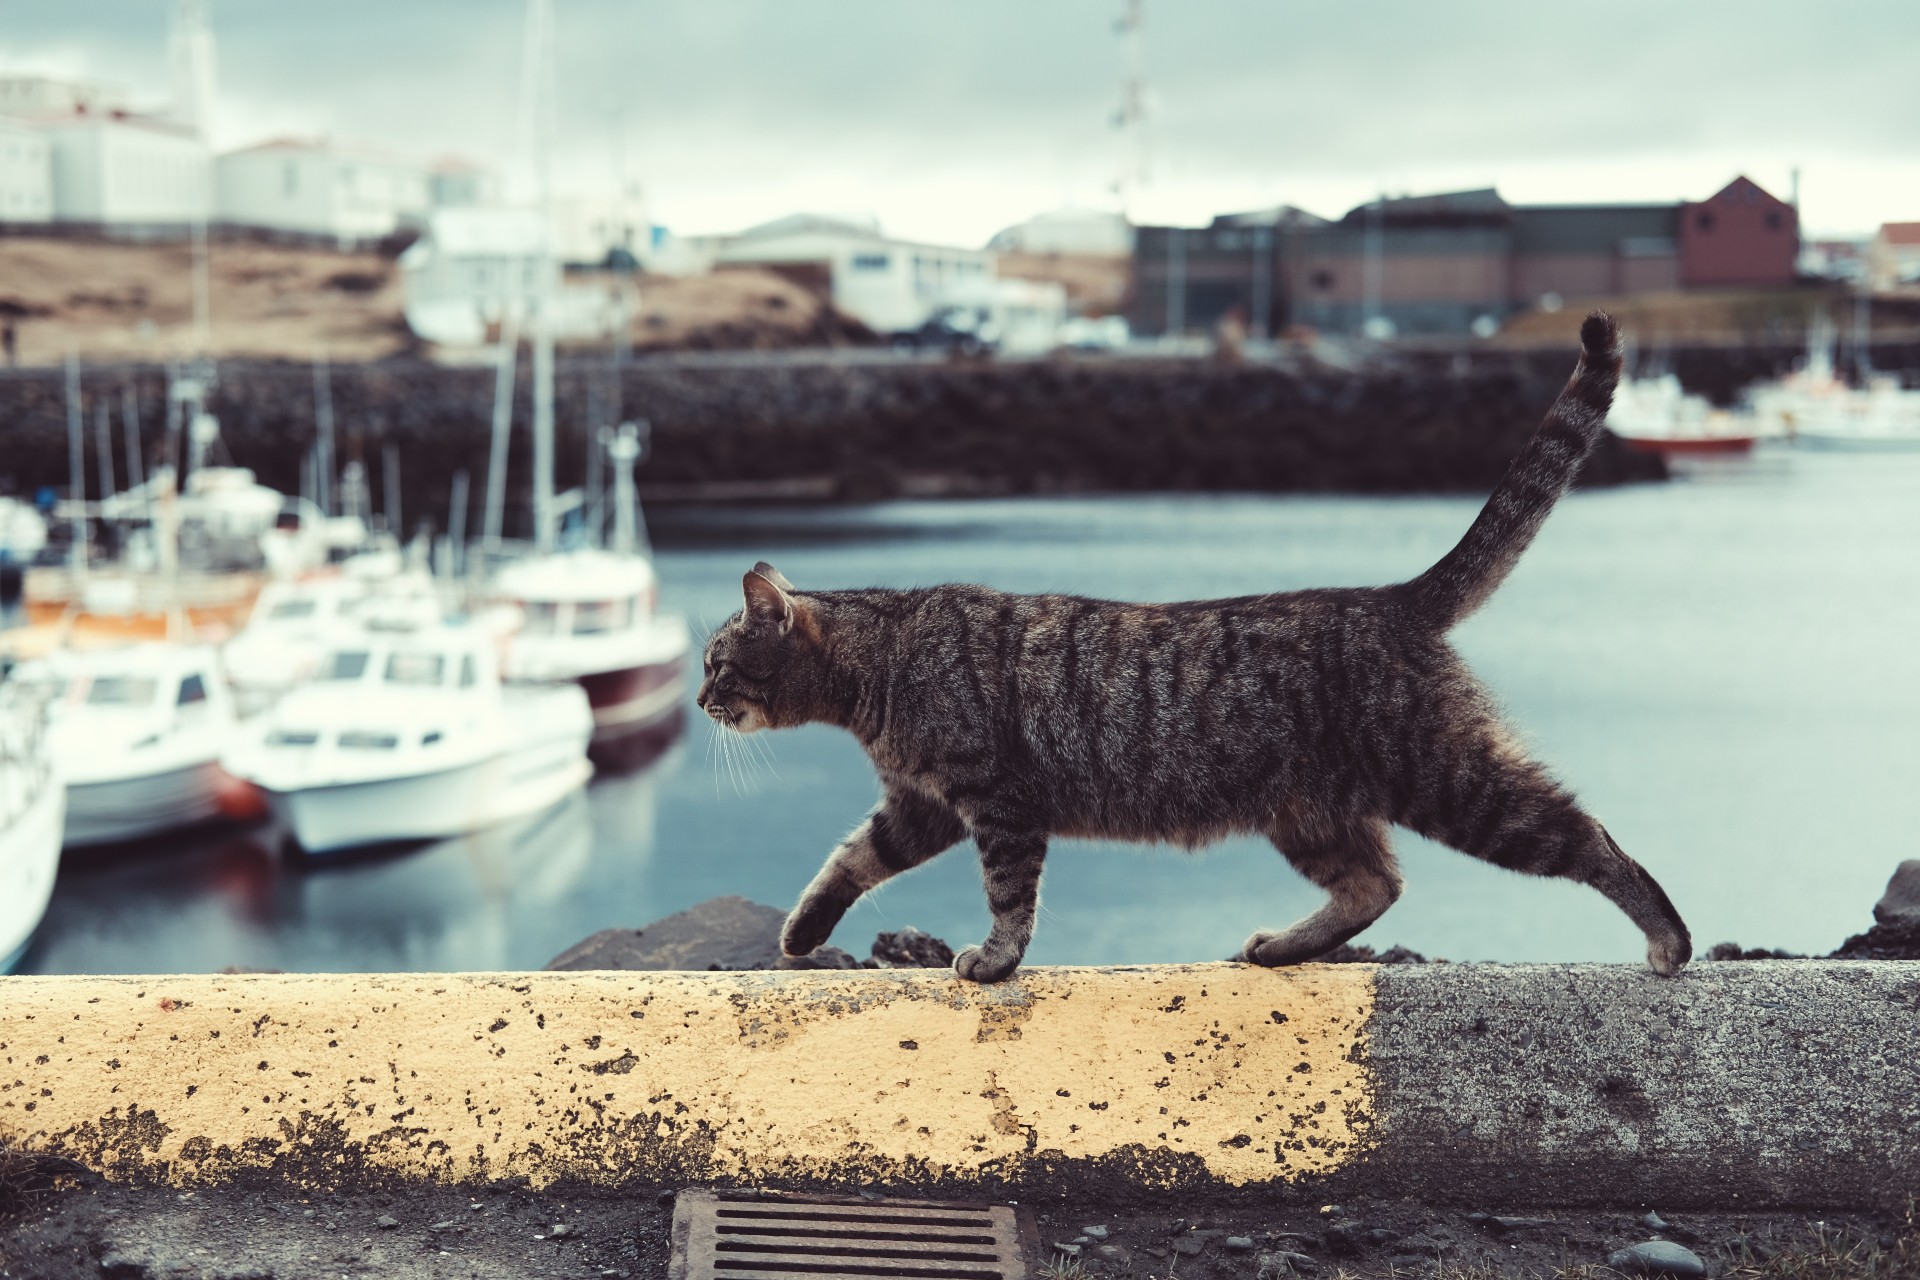
If you are shooting outside, you also need to be considerate of the sun’s position in your shot. Shooting your pet with the bright sun behind them in the shot can create problems with harsh backlighting, resulting in silhouettes, or your pet being underexposed in the foreground.
Aim to photograph your pet with the sun shining towards them. Be careful of your own body casting shadows over the pet – keep an eye on your own positioning, and keep moving around until you get it right.
Position yourself
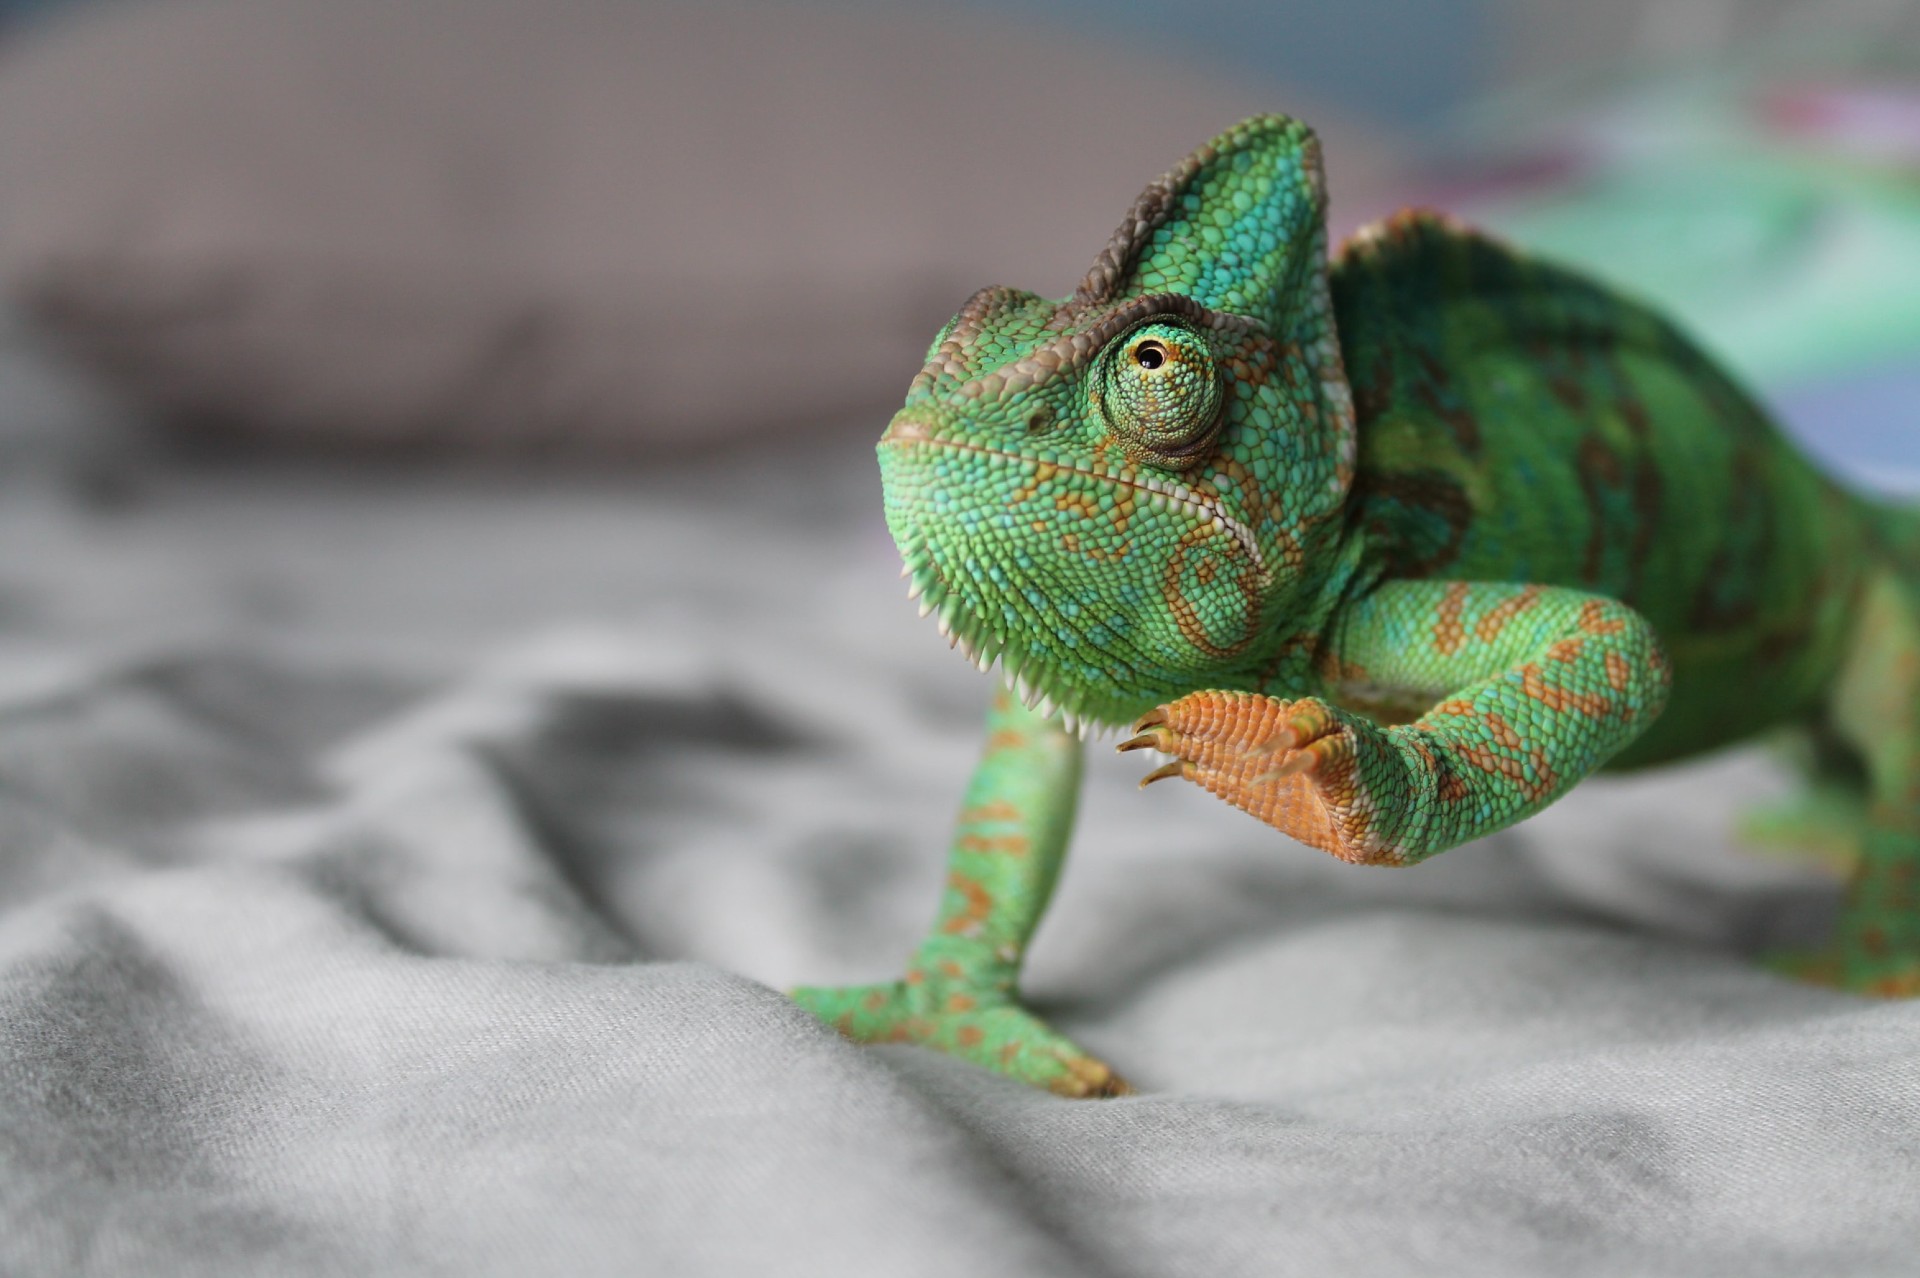
Composition is possibly the most important part of photography, and the same applies when snapping your pets. Don’t just point the camera (or phone) and snap away – it’ll rarely result in an excellent shot.
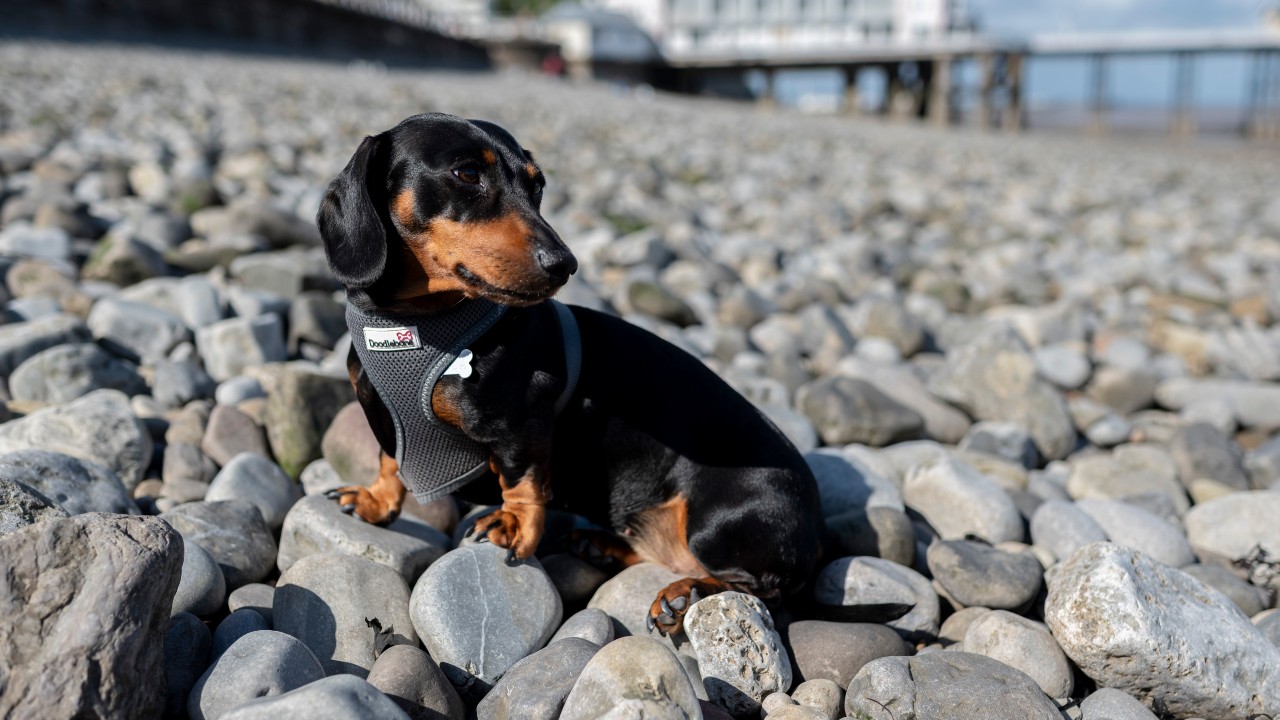
One of the best pieces of advice is to get on your pet’s level for a more natural perspective. Photographing them from above – especially small pets – can dwarf them and fail to bring out their personalities. Get down low by lying on the floor or crouching – if your camera has a tilting or articulating screen, that can be really useful to help you compose from those awkward angles.
Pick your lenses
If you have an interchangeable lens camera, such as a DSLR or mirrorless model, then picking an appropriate lens for pet photography is a good idea.
On the whole, wide-angle lenses don’t create the most flattering effects, so it’s worth investing in something with a focal length of at least 50mm. A telephoto lens of 200mm or longer is excellent for dog action photos, too.
For those working with their smartphones, try using the zoom lens now included on most devices. iPhones have a 2x zoom lens, while models from Samsung, Huawei, and others have even longer.
That said, don’t necessarily completely discount wide-angle lenses. You can produce some creative effects by shooting close-up with a wide angle lens, while they’re also good for showing off your pet’s wider surroundings. It’s just that if you get too close, you can end up distorting your pet’s features.
Choose the best focus point
When photographing pets, you should consider the subject to be just like photographing a human. Essentially, that means the focus point should be on the eyes, making them the sharpest point of your shot.
Although pets can move erratically, try your best to place the focus point directly over your pet’s eye – regardless of the type of pet – for the best shots. This is something you can control regardless of whether you’re using a dedicated camera or a mobile phone – if it’s the latter, simply tap on the screen where your pet’s eye falls.
If you’re photographing a moving pet, then enabling focus tracking if your camera has it is a good idea. This should mean that your camera follows the pet around the frame, always keeping them as sharp as possible.
Best camera settings for pet photography
There are a number of key settings that tend to work well as a general rule for most types of pet portrait. For a typical/ordinary portrait, you want to create a shallow depth of field which throws the background out of focus. To achieve that, you need to use a wide aperture - expressed in “f numbers”. The lower the number, the wider the aperture. Use a wide aperture of at least f/2.8 if you can, but f/1.8 or f/1.4 is even better – just make sure that you get the focus correct on the eye.
If you’re using a smartphone, you can recreate the same effect by using modes such as 'Portrait' or 'Aperture', depending on the model of phone you’ve got.
Shutter speed is also something to think carefully about. Because pets are generally quite fidgety, using a fast shutter speed to freeze the action is a good idea. Use settings such as 1/1000 or 1/2000 to get them nice and sharp – again, this might be something your smartphone gives you the option to do with a 'pro' mode or in a camera app designed around giving you more manual control.
ISO – also known as sensitivity – should be set as low as possible (100 or 200) to capture the most amount of detail. However, if you’re shooting in lower light conditions, don’t be afraid to push up to ISO 1600 – most modern cameras are perfectly capable at this level. You can set ISO using your smartphone if you have a pro mode. You might also want to consider using a 'night' mode in very low light if your phone has one, but it’ll require your pet to be quite still for a period, so while it’s fine for sleeping cats, it won’t work on a waggy, wriggly dog.
Pet photos: Be determined, be patient, have fun
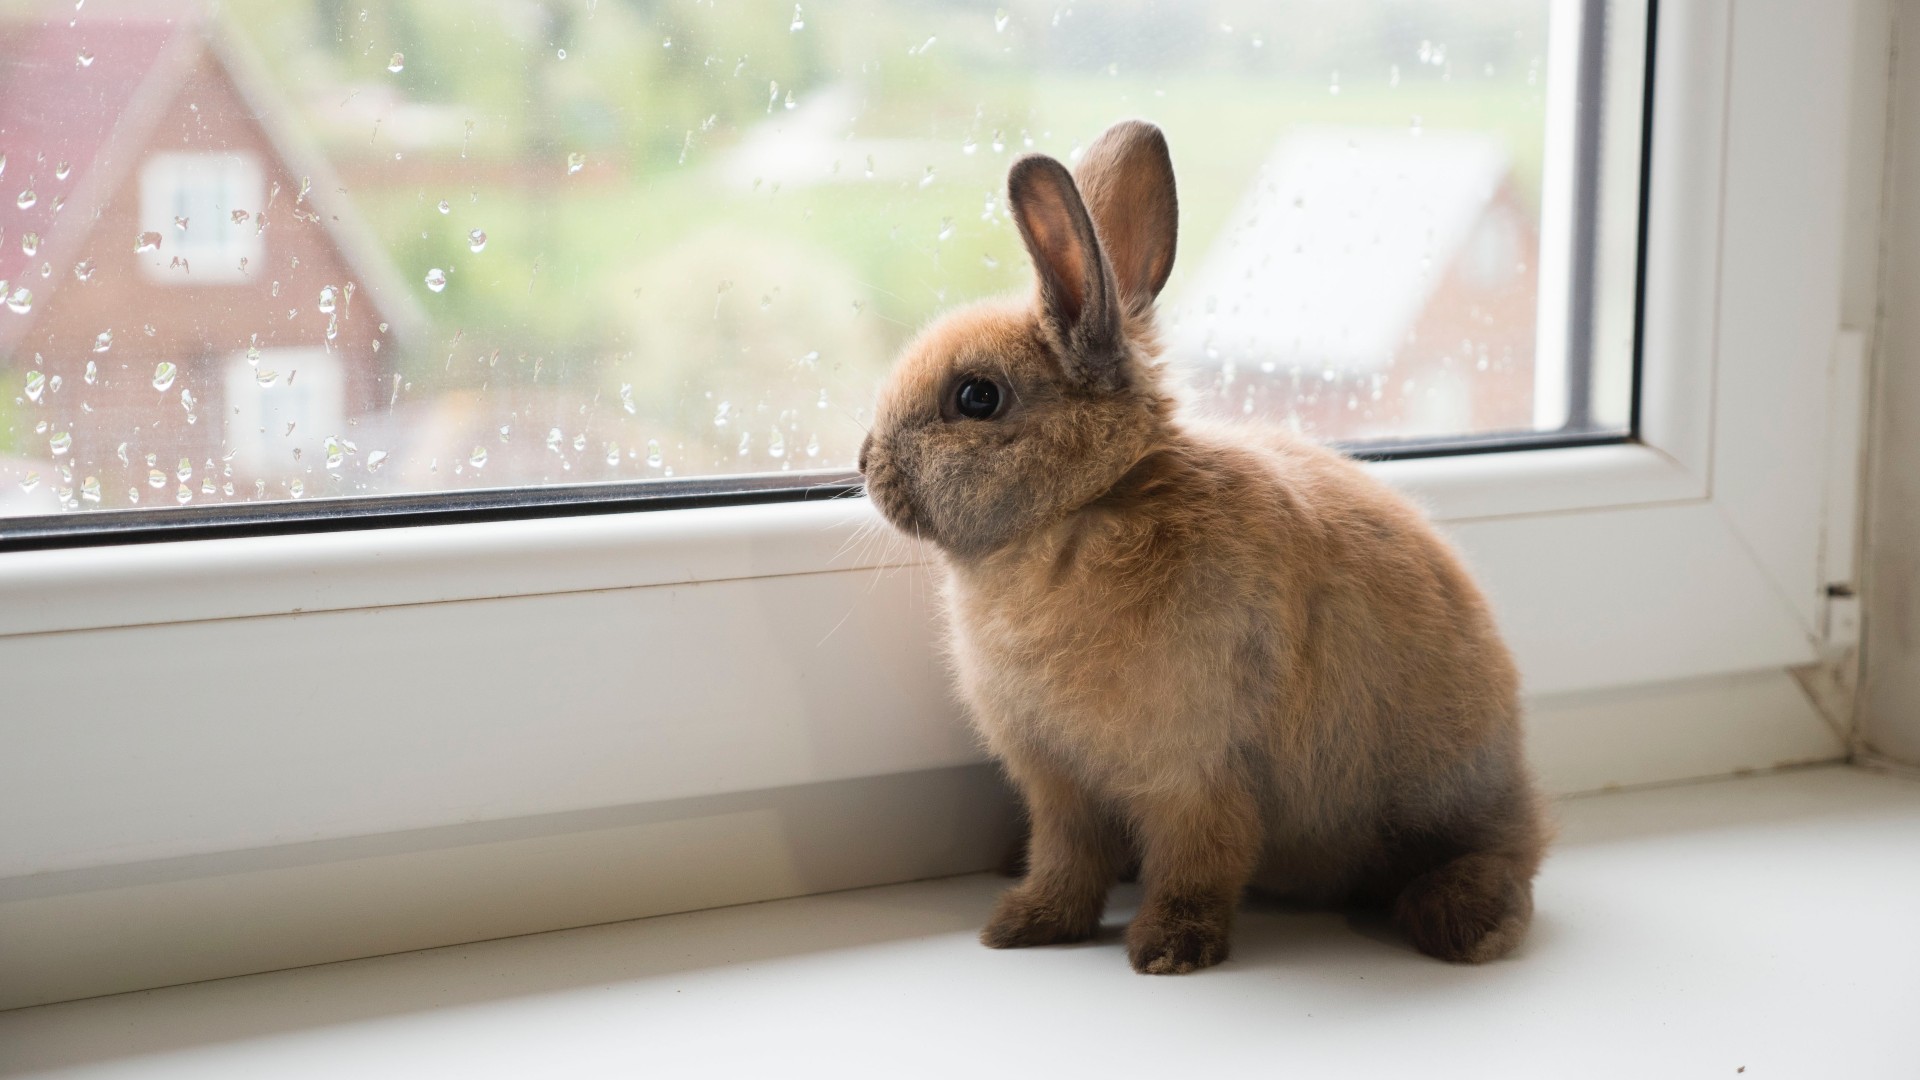
Pet photography is hugely satisfying when you get it right, but it can be frustrating if you’re not immediately getting the shots you want.
Flip your thinking, however, and see it as an opportunity to spend some bonding time with your pet. Be patient, keep trying, and turn it into a game – the more relaxed you both are, the better chance you stand of getting good shots.
PetsRadar Newsletter
Get the best advice, tips and top tech for your beloved Pets
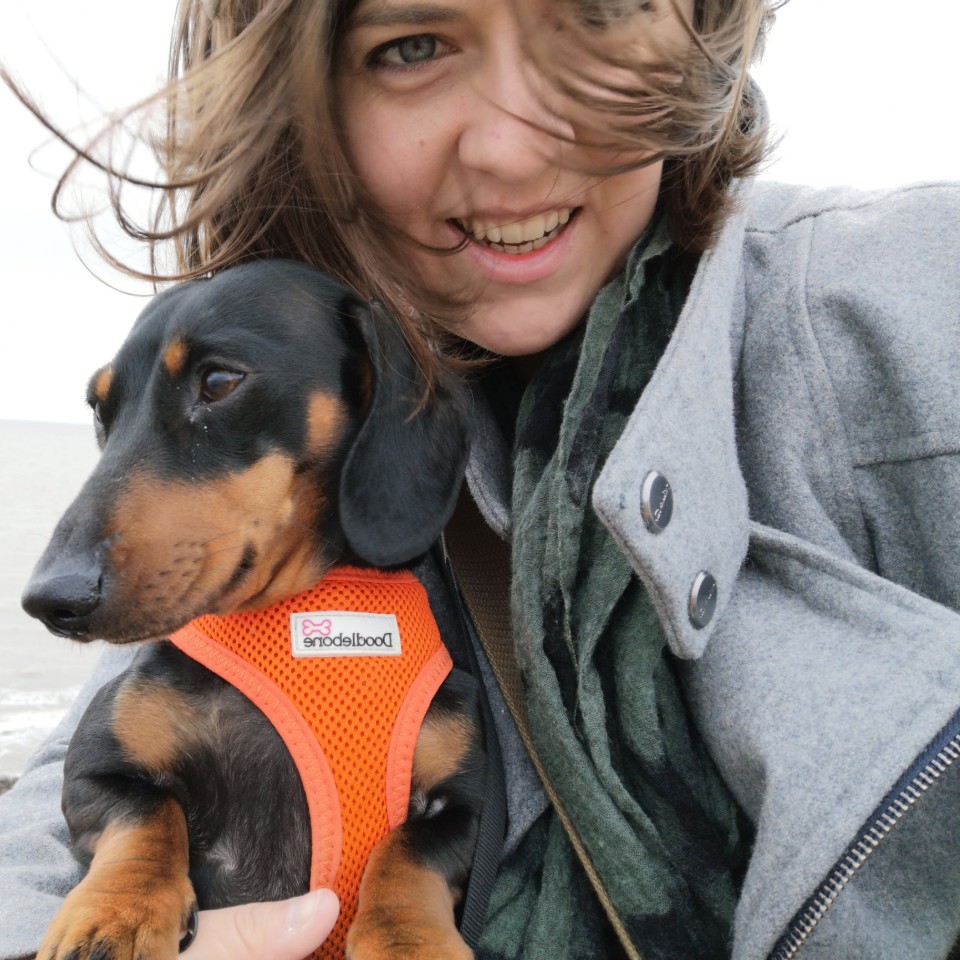
Amy Davies is a freelance writer and photographer with over 15 years experience. She has a degree in journalism from Cardiff University and has written about a huge variety of topics over the years. These days she mostly specialises in technology and pets, writing across a number of different titles including TechRadar, Stuff, Expert Reviews, T3, Digital Camera World, and of course PetsRadar. She lives in Cardiff with her dog, Lola, a rescue miniature dachshund.
